References:
We are going to deploy the java application war file to Tomcat webserver using maven, which means without touching the Tomcat manager GUI we are going to deploy the java application.
To create users in Tomcat, open the file /var/lib/tomcat9/conf/tomcat-users.xml
sudo vi /var/lib/tomcat9/conf/tomcat-users.xmlGo to end of the file and paste the following lines inside tomcat-users block and save it.
  <role rolename="manager-gui"/>
  <role rolename="manager-script"/>
  <user username="admin" password="admin" roles="manager-gui"/>
  <user username="deployer" password="deployer" roles="manager-script"/>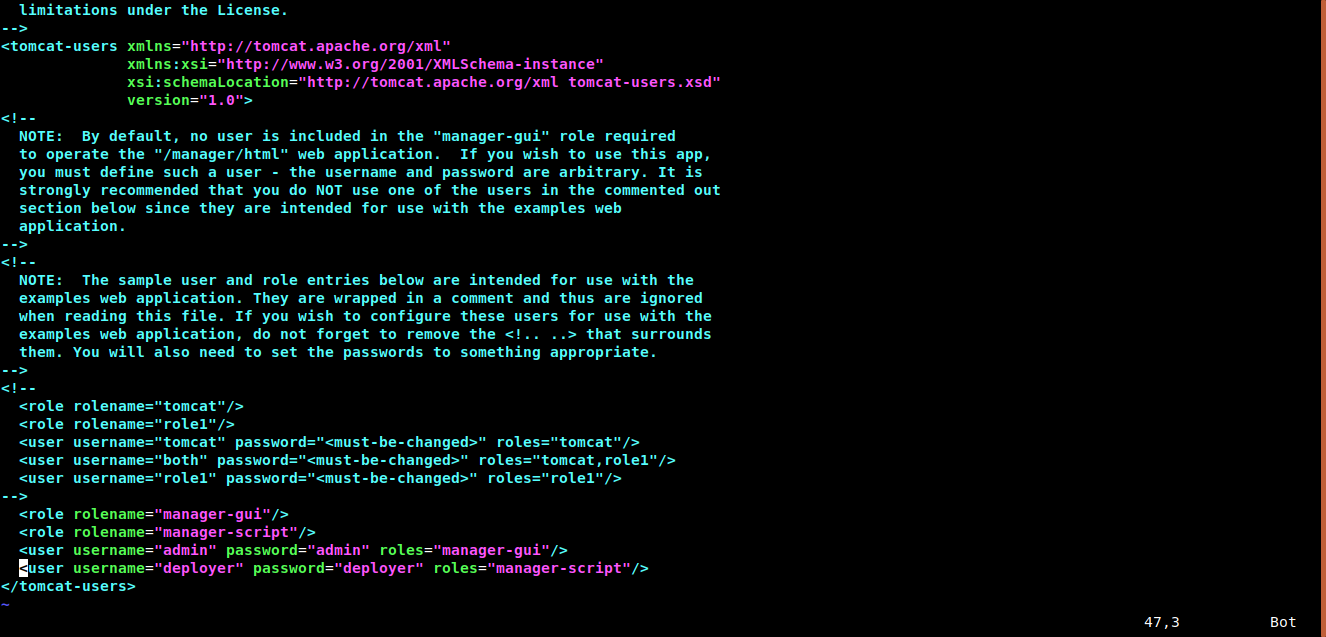
Here we have defined two roles manager-gui, manager-script and created two users admin, deployer and assigned the manager-gui role to admin user and manager-script role to deployer user.
Using admin user we will be able to access the manager web application GUI and using deployer user we will be able to deploy the war file to tomcat using maven command.
Note: The manager-script role will not give access to Tomcat manager web application GUI, it will give access to deploy the application using scripts.
Then restart the tomcat9
sudo systemctl restart tomcat9Now to deploy the java web application to tomcat, we have to compile the Java code and package it to .war file extension type.
I have a sample hello-world maven project in github hello-world
To download and compile this code we need two tools to be installed in our system git and maven
If you are using Ubuntu system, you can easily install git and maven using following commands.
sudo apt install -y git maven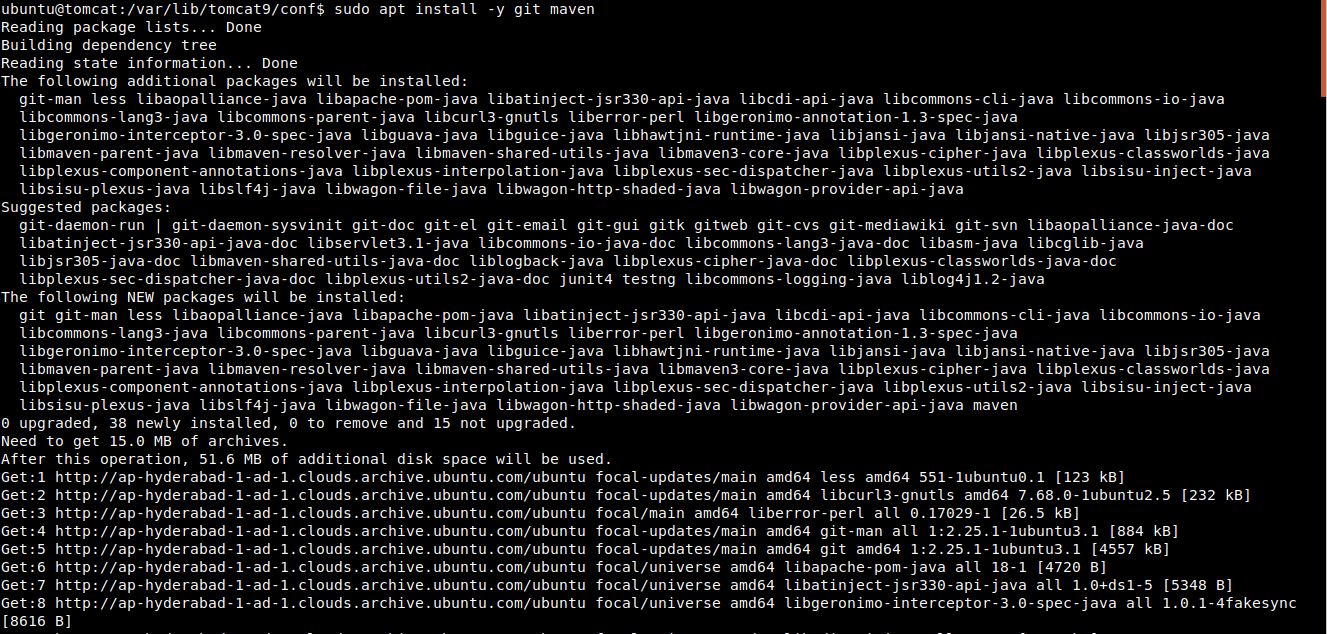
Now we can clone the hello-world project from Github
git clone -b maven-deploy-to-tomcat https://github.com/vigneshsweekaran/hello-world.git
Before compiling the code, we have to do some configuration in maven to deploy the hello-world.war to tomcat.
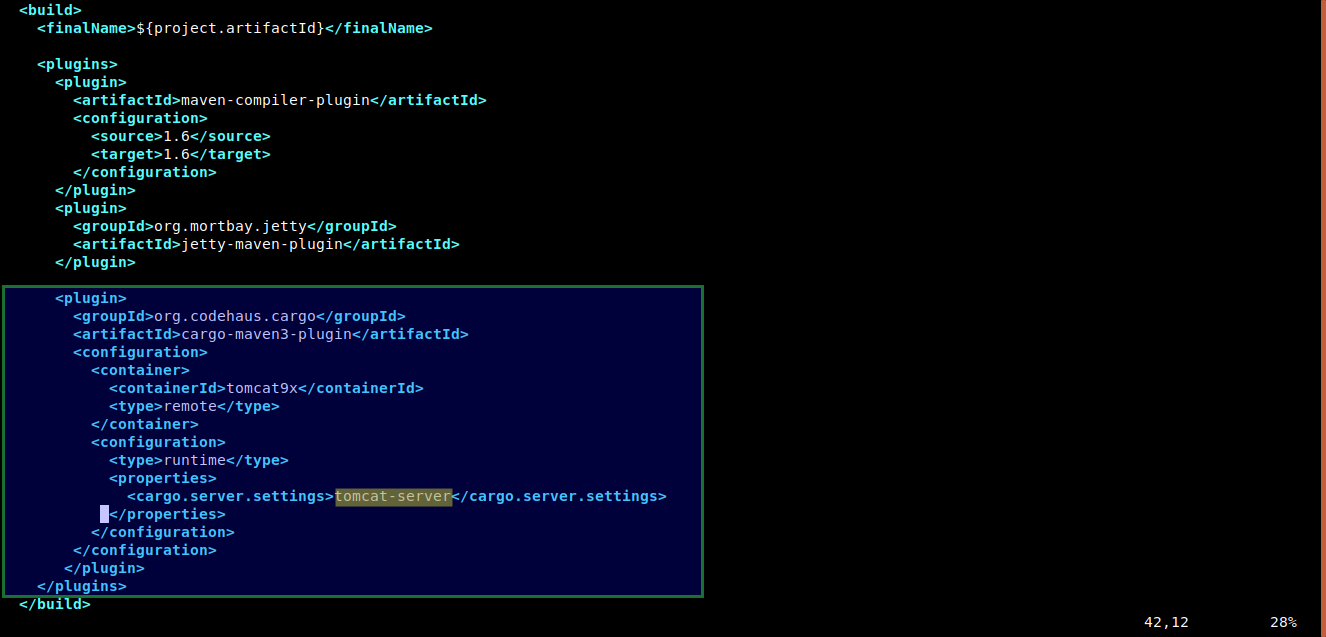
We are going to use cargo maven plugin to deploy the war file to tomcat.
After installing the maven, .m2 directory will be created in home folder. If your server username is ubuntu then the home folder is /home/ubuntu
Create settings.xml file in /home/ubuntu/.m2 folder.

Paste the following content in settings.xml
<settings>
  <servers>
    <server>
      <id>tomcat-server</id>
      <configuration>
        <cargo.tomcat.manager.url>http://152.70.71.239:8080/manager/text</cargo.tomcat.manager.url>
        <cargo.remote.username>deployer</cargo.remote.username>
        <cargo.remote.password>deployer</cargo.remote.password>
      </configuration>
    </server>
  </servers>
</settings>
settings.xml file is used to save some useful or secret data and these data can be fetched into pom.xml by refering the id.
Here we have stored the tomcat url, username and password, which are needed by cargo maven plugin to deploy the hello-world.war to tomcat.
And i have already added the cargo maven plugin details to the pom.xml. While executing mvn clean install maven will download the cargo plugin from maven repository.
While creating the settings.xml we have created a id <id>tomcat-server</id> for the tomcat details. This id we have to refer in cargo maven plugin definition in pom.xml file to fetch the tomcat details.
Go inside hello-world folder
cd hello-worldNow we can run the maven command to compile the Java code and package it to .war file extension.
mvn clean install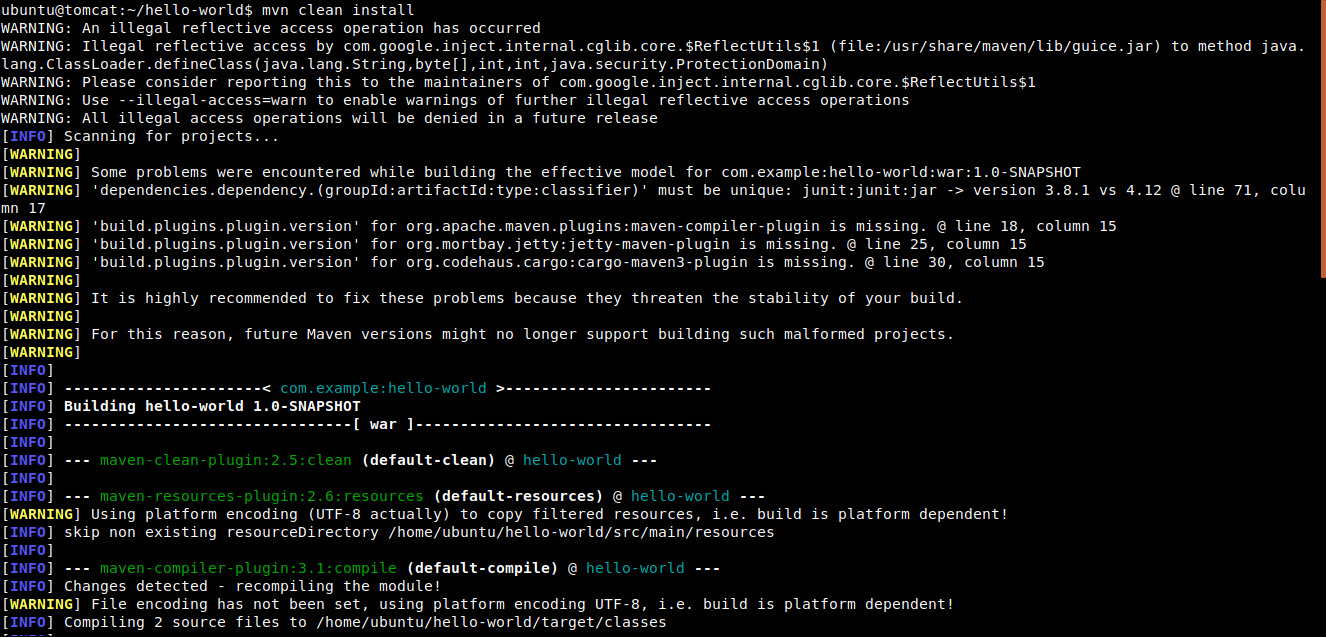
After compilation, the hello-world.war file is generated in target folder
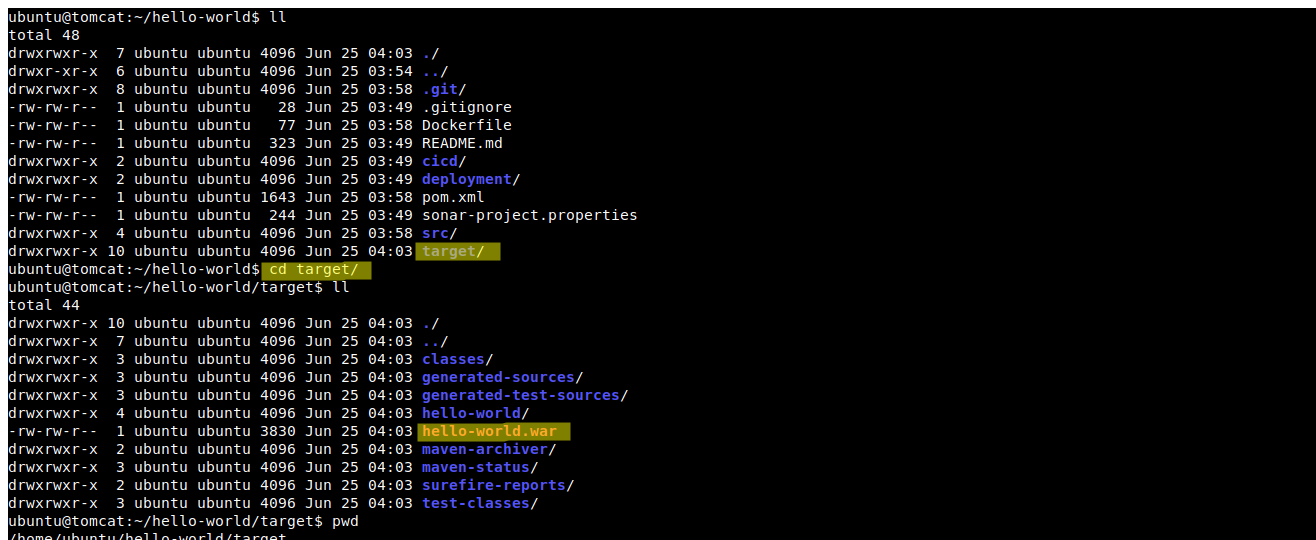
Now we can run the mvn cargo:deploy command to deploy the hello-world.war file to tomcat
mvn cargo:deploy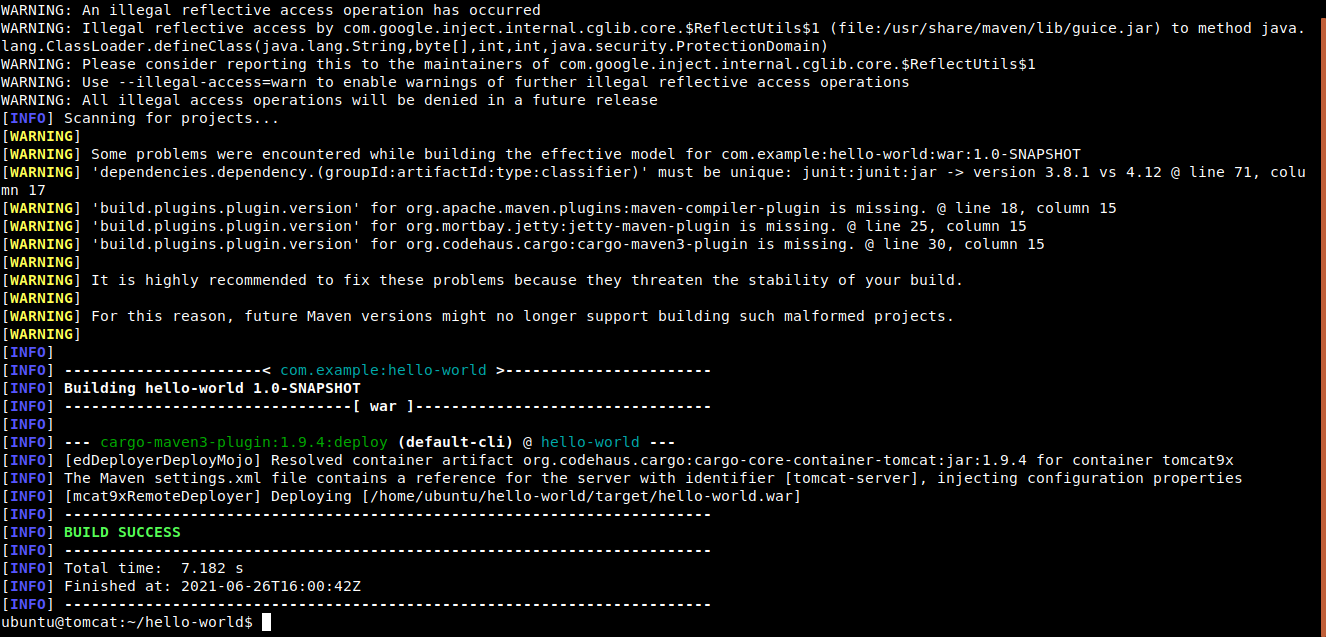
While executing mvn cargo:deploy command, maven will fetch the tomcat details from settings.xml and deploy to tomcat
Now, we can verify the deployment by visiting the http://your-ip-address:8080/hello-world

To undeploy the hello-world.war file from tomcat
mvn cargo:undeploy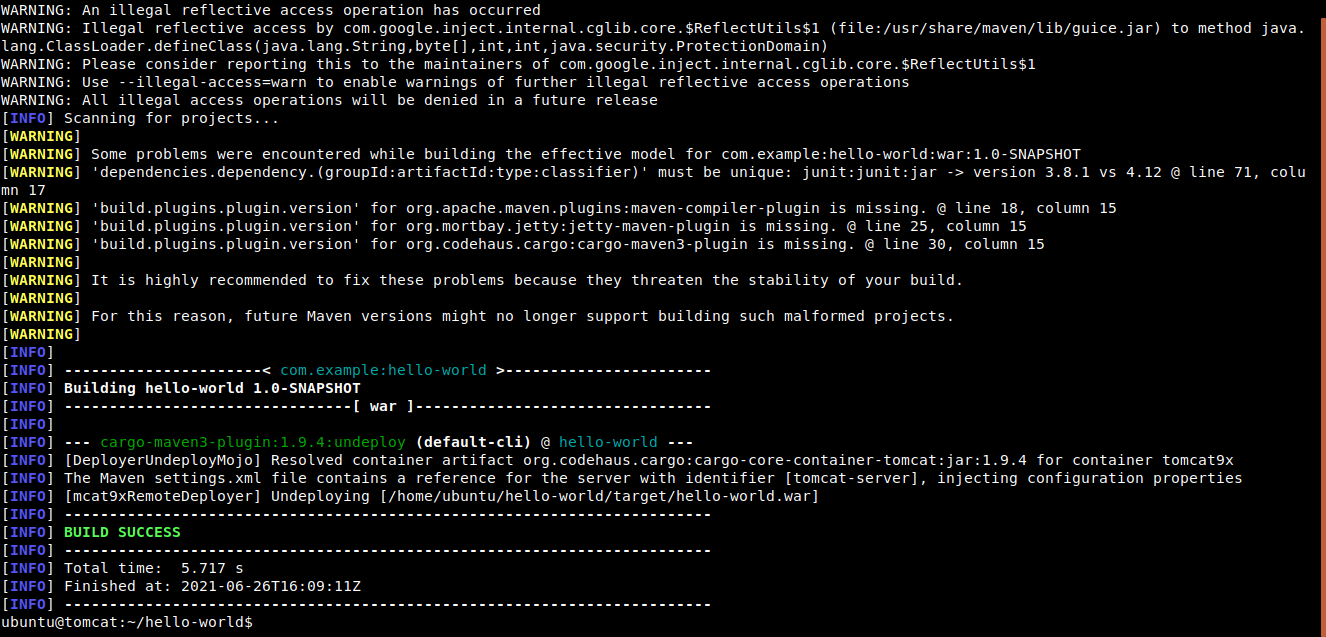
Hurray!! we have succesfully deployed and undeployed the java web application to Tomcat 9 using Maven
Pass the tomcat url, username, password as mvn arguments
mvn cargo:deploy -Dcargo.tomcat.manager.url="http://152.70.71.239:8080/manager/text" -Dcargo.remote.username="deployer" -Dcargo.remote.password="deployer"